
Home Assistant Notifications With Node Red
Red Alert!

Intro and Musings
A couple of years ago, notifications in HA were a bit of a mess. We didn’t really have a solid phone app, and had to rely on third party solutions like Pushover, which was a bit of a kludge and required notifications to not be local, but be pushed to the cloud service and back again. Then in v0.7 we were given native notifications support, and in 2022.2 local push support was introduced. Notifications could be configured using the built in automations engine or with Node Red. As I’ve only ever used NR, this is what this guide will focus on. It’s more complicated, but I’d argue far more flexible.
HA (Companion) Mobile App Setup
When you first install the mobile app, it asks you to name it. Here’s where you can accidentally trip up your future self. I would advise you make something specifically generic. (words, what do they mean?) What I mean by that is instead of “Dad’s Pixel 10” use “Dad’s Pixel”. That way when you get a new phone, you can name it the same and not have to go through all of your automations and update the reference.
HA stores the name as an entity you can’t search for or see like you’re used to. It’s notify.mobile_app_[name at setup].
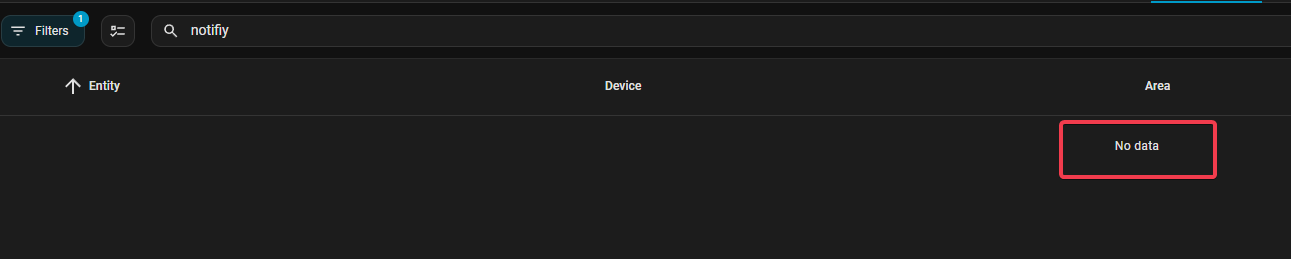
You can see it in Node Red, though.
There’s also the concept of “Channels”. Included with the app there is General, Sensor Sync, and Sensor Updates. You can create custom channels, but there first must be an initial notification sent to the device using that channel before the phone will see it and be available for customization of different sounds.
To get to the notification section in the app >Settings>Companion App>Notifications
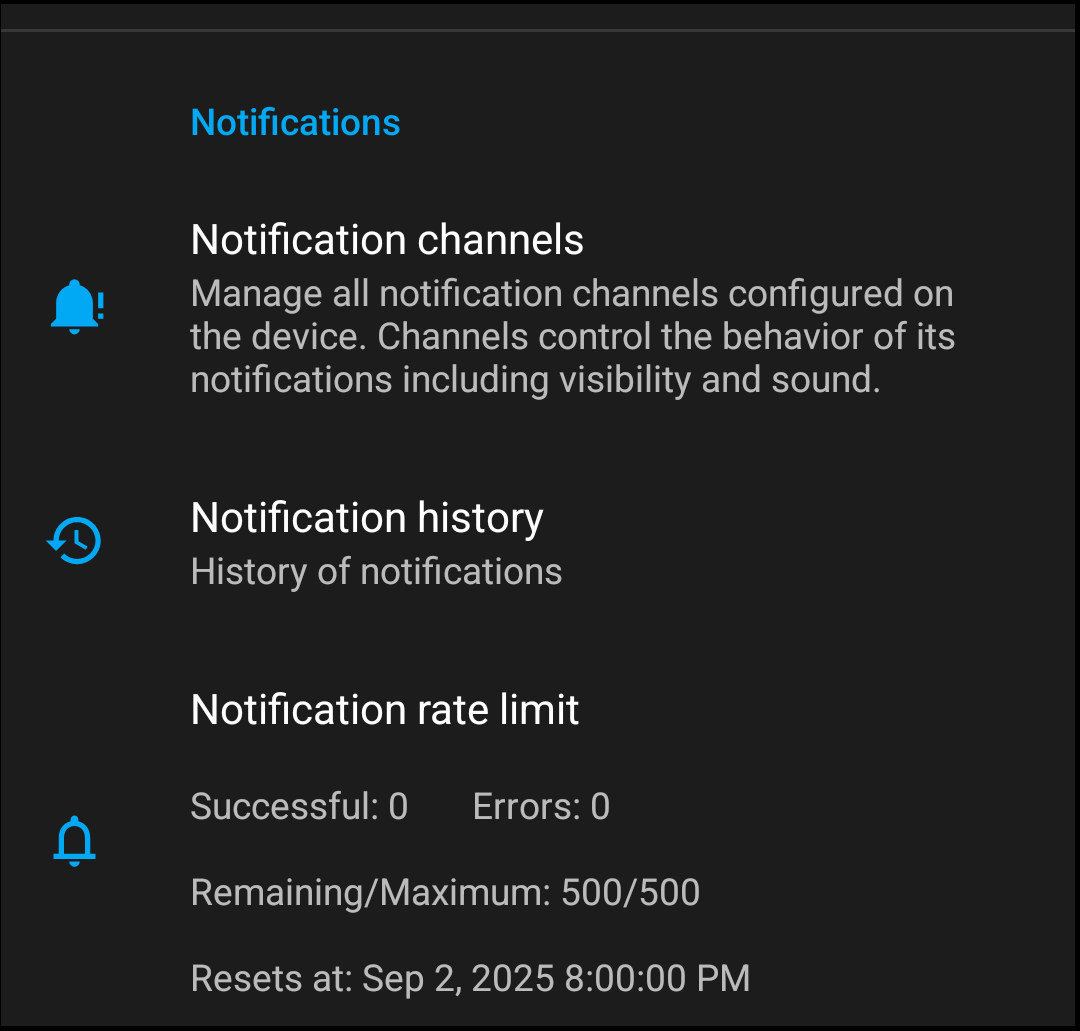
The Channels section is where the customization of alerts like sounds, vibrations, is configured.
Node Red Configuration
I’m going to assume you have some knowledge of NR. I do have a brief intro about it here but it’s in no way comprehensive.
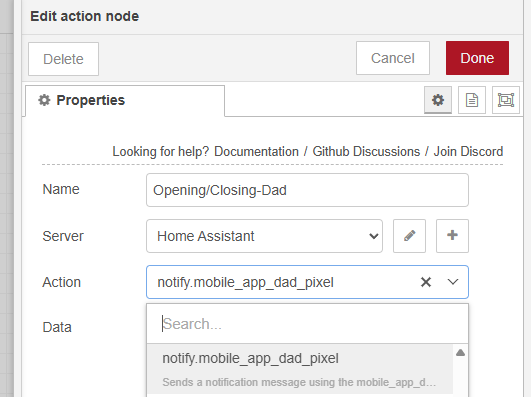
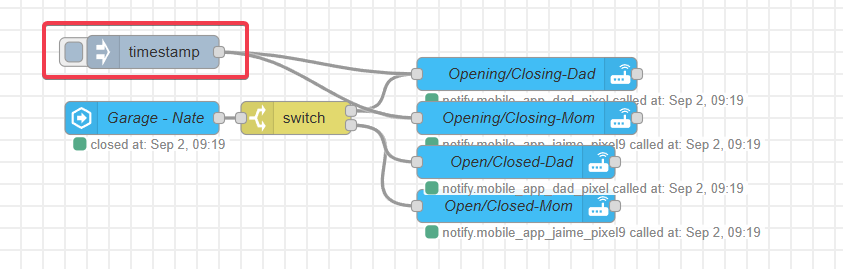
I’m going to include some samples of several custom scenarios I have setup. Typically, it will be a state node, a switch, and the notification entities.

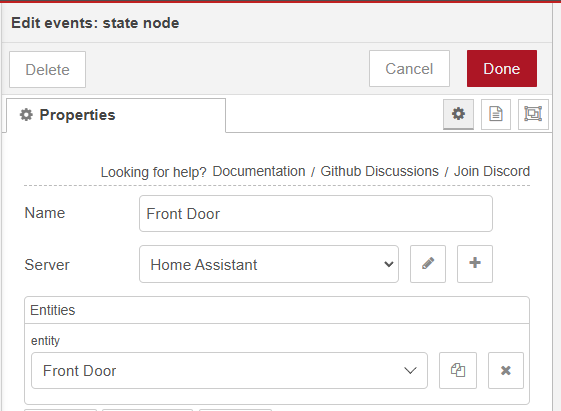

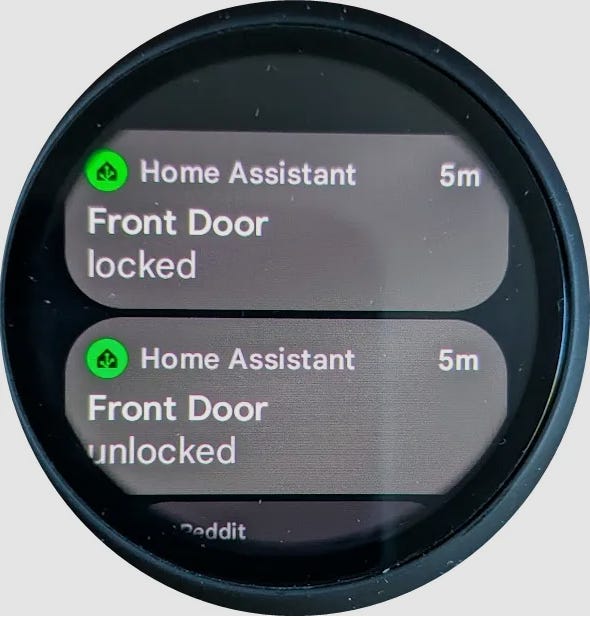
The flow for my front door notification is shown above. To get the values for the switch, I tied a debug node to the state and activated it.
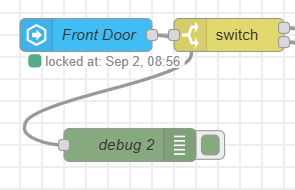
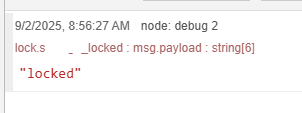
The debug node is an indispensable tool to see the messages so you can switch them correctly.
If you have a smartwatch, notifications can be sent there as well.
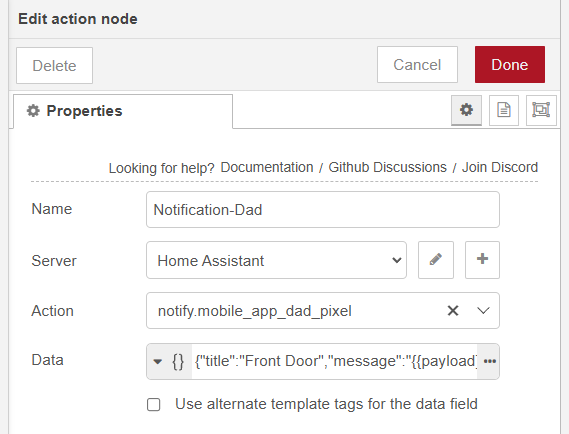
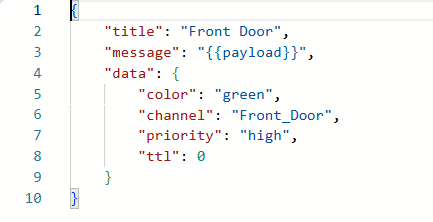
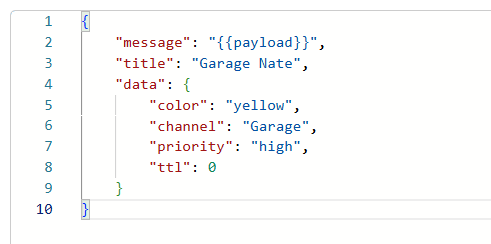
Now you may have noticed the Data section in the notification area…yup it’s JSON.
Here you can see the structure of this message, where I’m repeating the payload of what’s being received into the body of the notification. Also the Channel, Priority and Color. Not every device honors the color value, as you can see above. Examples of all these can be found on my Github.
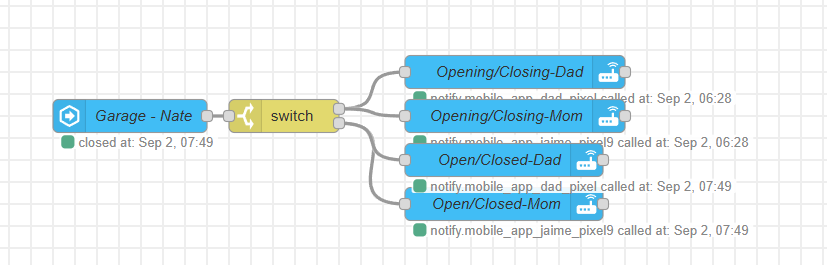
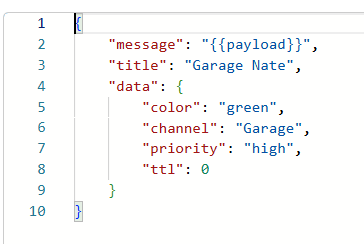
Let’s look another more complex example for my Garage Doors.
Now let’s look at a debug of the door.
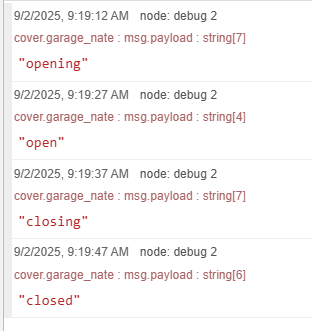
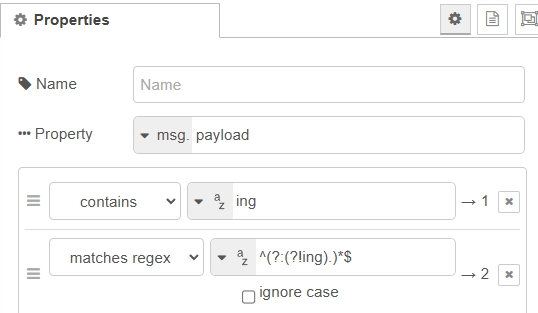
So this device sends the interim and final state of the door, and I use the switch node to send the packets to the right output. NR doesn’t have a “does not contain” option which is why i had to use regex for that.
Testing and And Initializing Channels
So the easy way to send these channels down for customization is to wire up an inject node to the notification entities. The message doesn’t really matter as all we’re trying to do it successfully generate the alert.
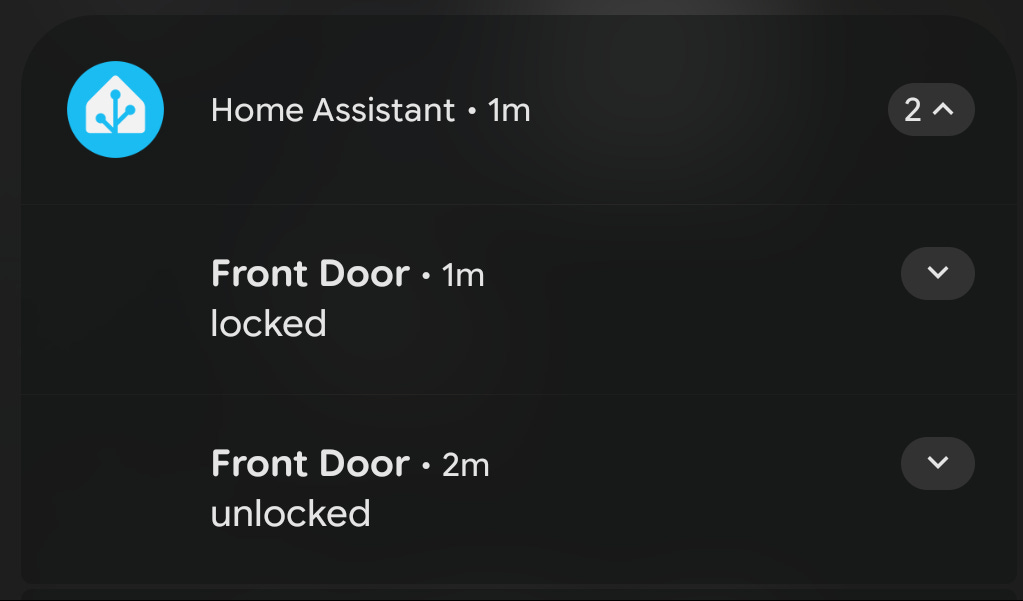
There’s the notification, with the default timestamp as the payload.

Setting Up a New Phone
So, a new device will not have your channels. All the backend stuff will still be on NR, what I did was create an unholy tentacle monster inject node wired to all of my notification entities that had a unique channel and just fired off a mass notification wave which then pushed all my channels down. I set all my sounds and was good to go.
Oh, and one final note. If after setup of your phone your mobile app name doesn’t show up in NR, reboot the add-on so it can re-query the database right away and fetch the new node name.
More details on the overall notification system can be found here.
Until next time.