
Proxmox Cloud Init
It's just the cloud, innit?

Intro And Musings
I spin up a fair amount of Linux VMs in the course of my work for…science. And even with templates it gets tedious. Crazy tedious. Then, I was today years old when I heard about Cloud-Init. Basically, this is a special image you can download and boot from that will provision itself based on values you add in a Cloud-Init file. It makes makes new deployments crazy fast. The rub is, there’s some nuance here that I had to figure out that I don’t feel the videos and articles cover that clearly.
Note: There is a Cloud-Init package that can be installed on provisioned systems but I won’t be covering that today.
Ok, let’s get to Ramblin’
Template Setup
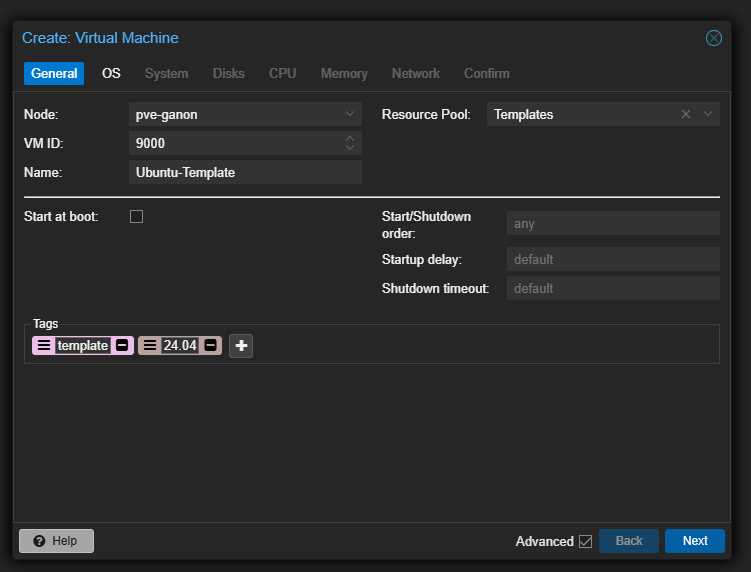
Every step of this can be done via CLI, but we’re going to do this in the GUI except for one step. Let’s go ahead and create a new VM, with an ID of 9000. I'm only picking a number that high to make it stand out.
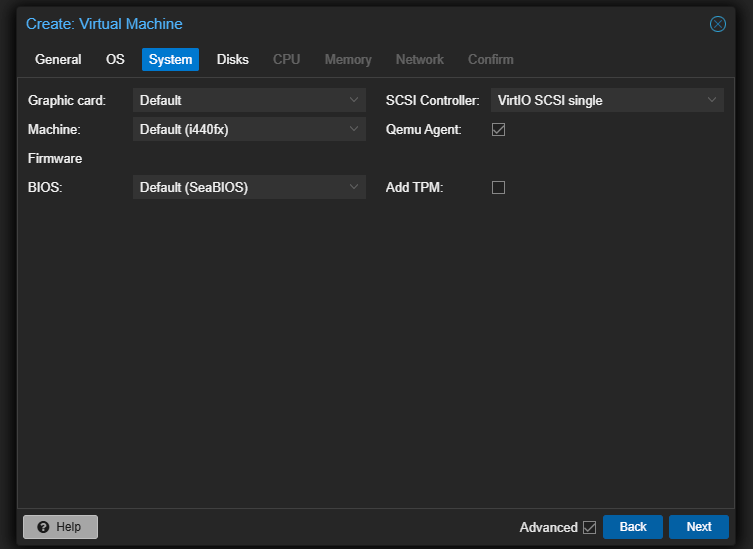
Check qemu Agent
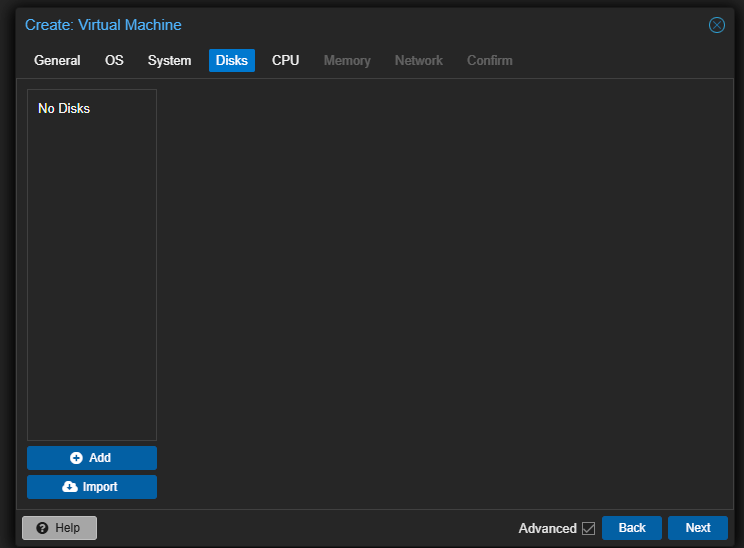
No disks, delete any that are there.
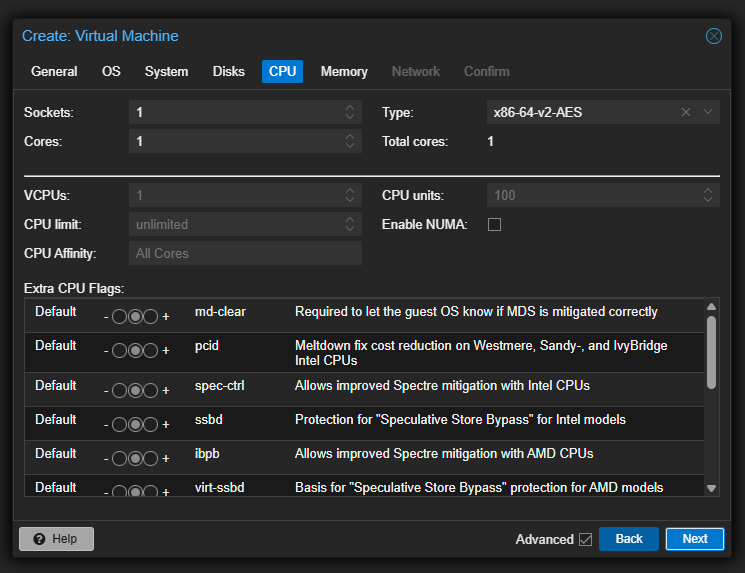
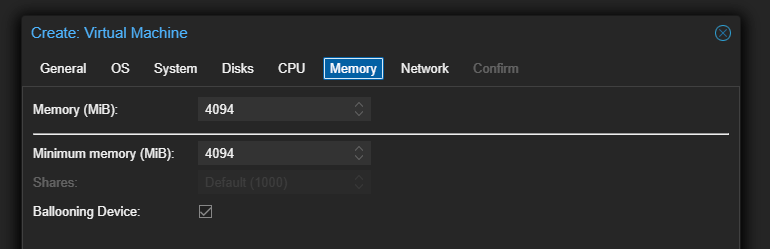
Configure CPU and memory as desired (examples only)
Then complete the creation. DO NOT START THE VM.
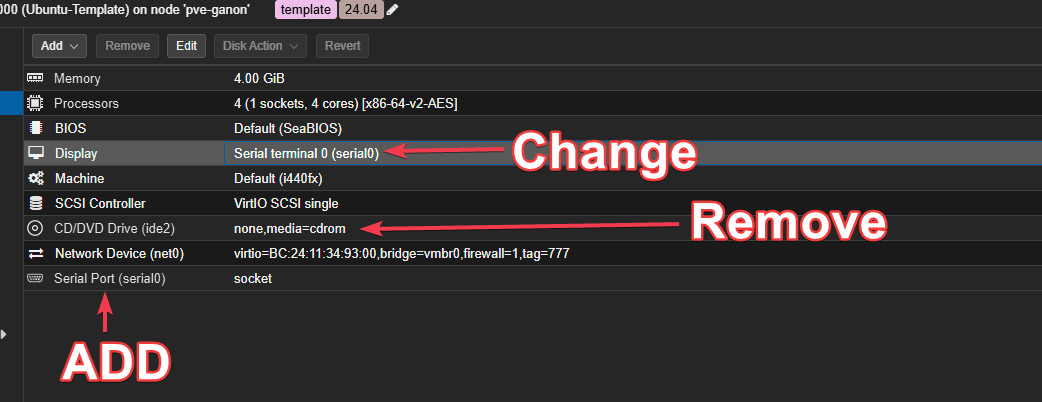
Then go to the VM, and go to the hardware section.
Ok, now we’re going to use the CLI for the next steps. PVE8+ does have an image upload and import feature but for whatever reason it makes the image not bootable.
So go to https://cloud-images.ubuntu.com/, pick your distro and find the amd64.img.
I’m going to use this:
https://cloud-images.ubuntu.com/noble/current/noble-server-cloudimg-amd64.img
Don’t download it directly, SSH into your node and pull it down with wget

Do a ls and you should see it there.

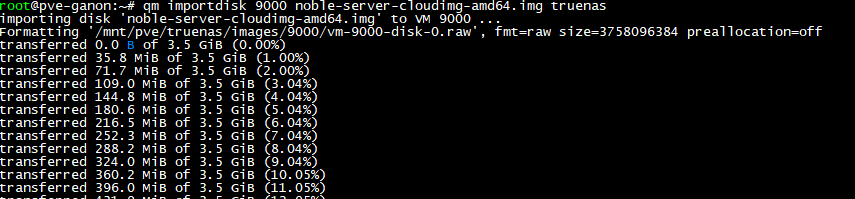
Our next command is going to import the disk to the VM.
qm importdisk [ID] [IMG] [STORAGE NAME]
E.G.: qm importdisk 9000 noble-server-cloudimg-amd64.img truenas
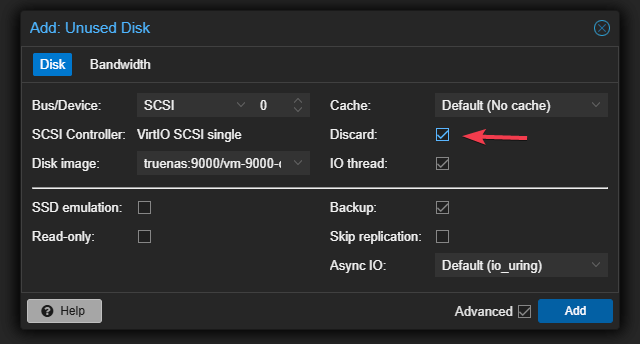
Go back to the VM hardware section and you’ll see “Unused Disk”, edit it.
Check “discard” and add the disk. And yes, I know the disk is small. Don’t extend it yet.
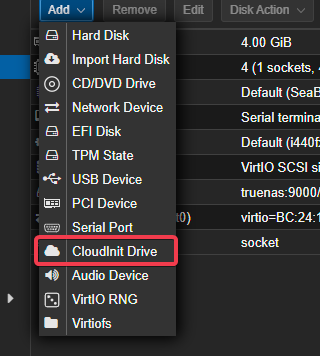
Next, add the Cloud-Init-Drive
Make sure it’s IDE2
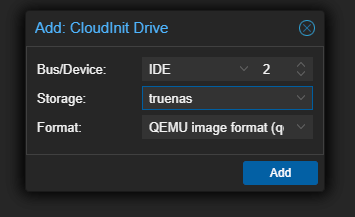
Set all your variables, and “Regenerate Image”. You’ll want to use a SSH Key, we’ll cover that in the next section. By default Cloud-Init does not allow passwords for SSH and honestly I’ve found it’s a pain to make work later. Using keypairs is the better, more modern way to SSH IMHO, and better to learn it, even if at ramblin’ gunpoint.
Skip to the bonus section now if you need to learn how to make the keys and come back here.

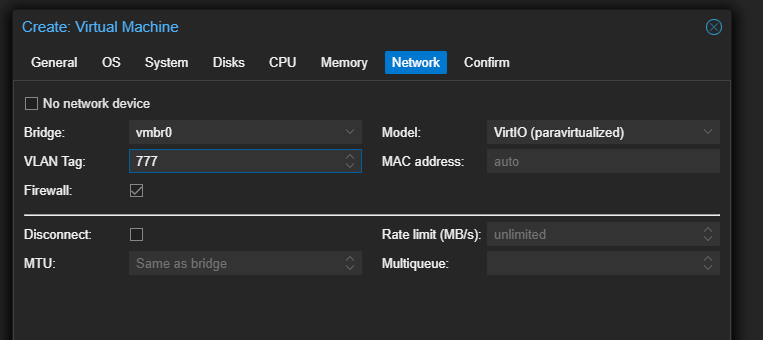
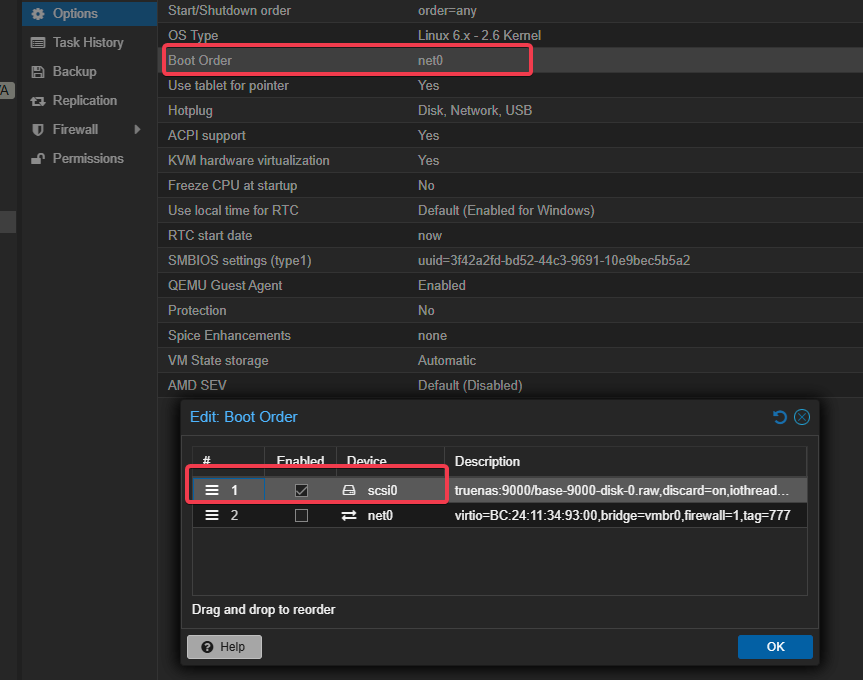
In options, make sure scsi0 is set to boot, uncheck net0
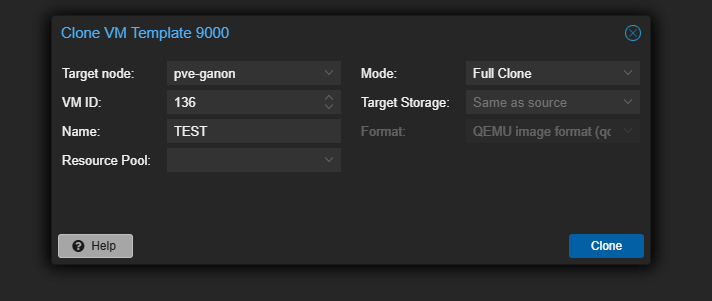
Right click on the VM and convert to template. Once converted, right click and make a full clone.
Start the VM

It’ll go through some quick loading, then hit enter to get to the console password prompt, and use your creds as defined. Success!

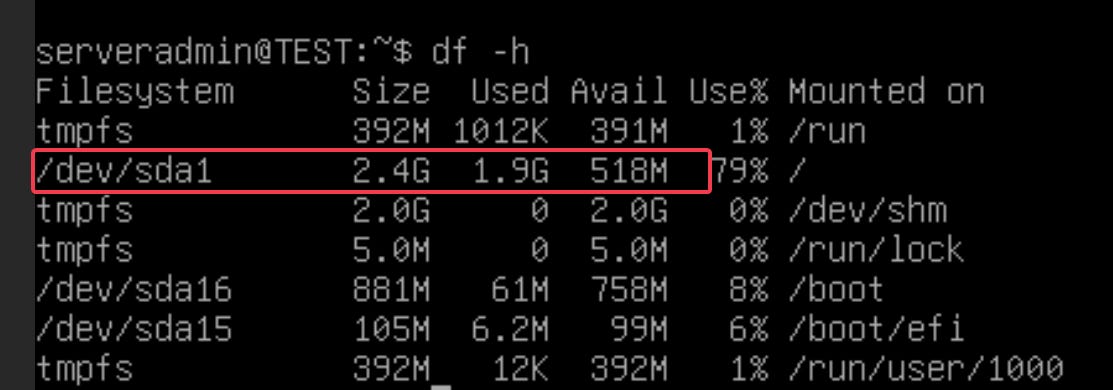
Now, the disk is really small. This is great for a rapid clone, but not for prod.
Let’s delete the VM and recreate, but don’t start it. On scsi0, let’s resize.
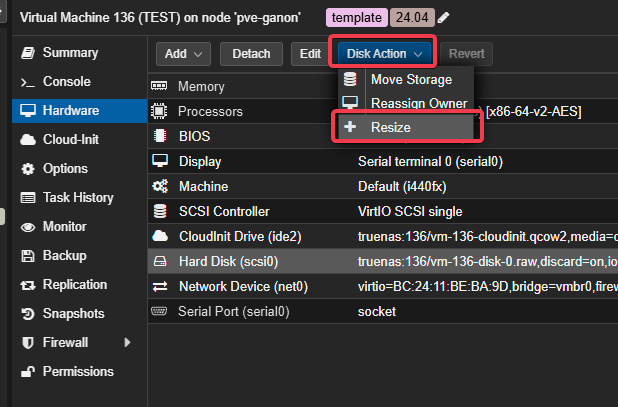
Adjust as needed.
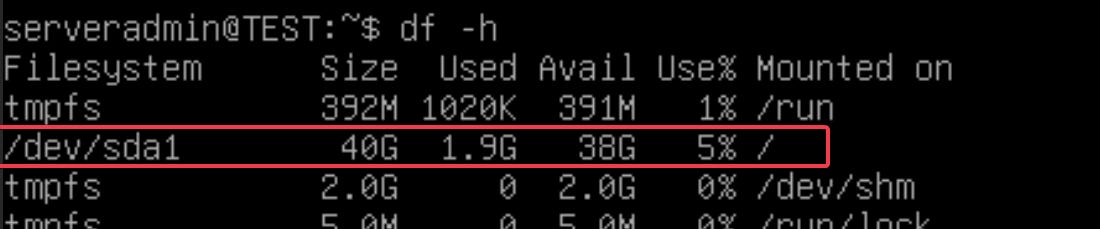
Start the VM, and check the disk. Much better.
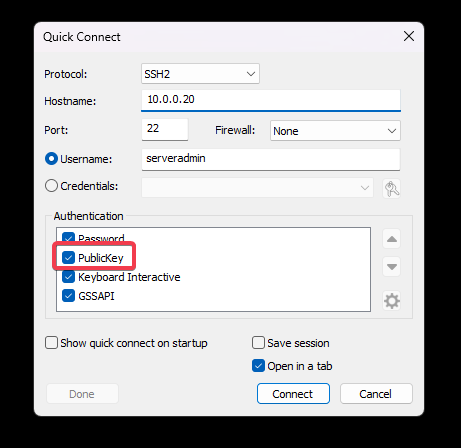
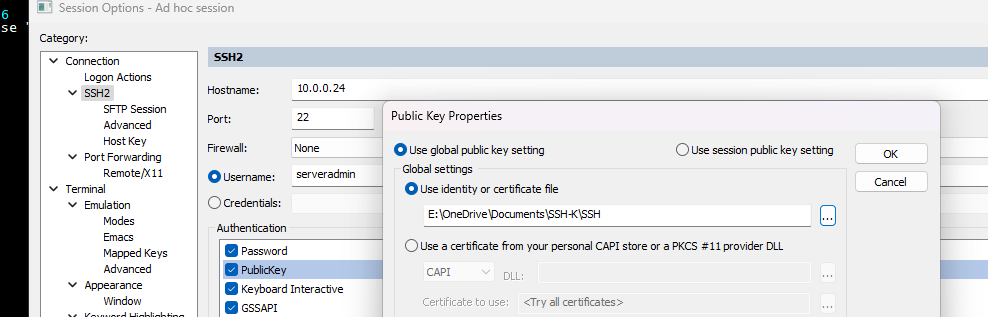
So I specified a cert, let’s see if that works. (I use Secure CRT)
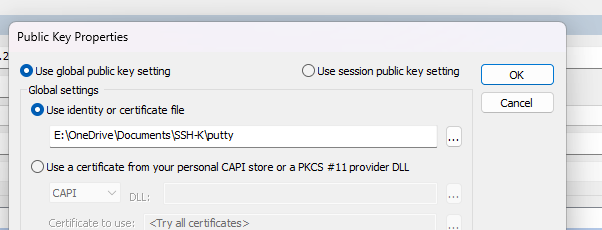
Point it at your private key. It will have no extension, the .pub is for the server side which we added to Cloud-Init
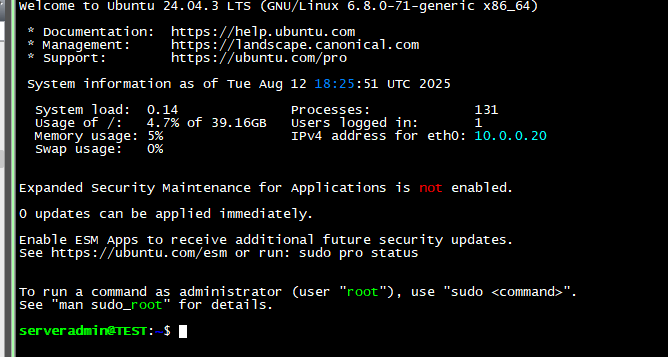
You should connect successfully!
Bonus Section: Making Keys
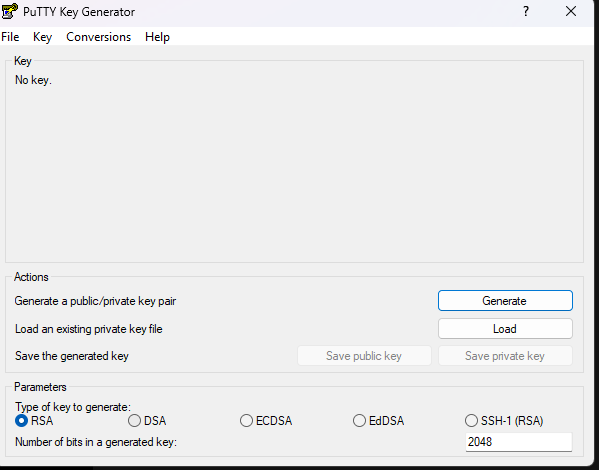
You can use OpenSSH on Linux to make a public/private keypair. Windows is my daily driver though so I used Putty because it’s easy.
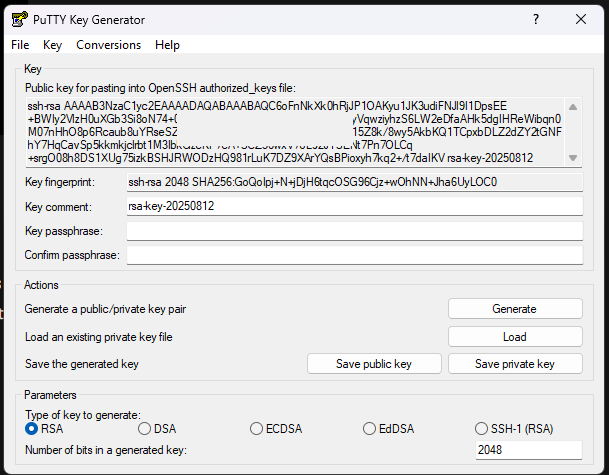
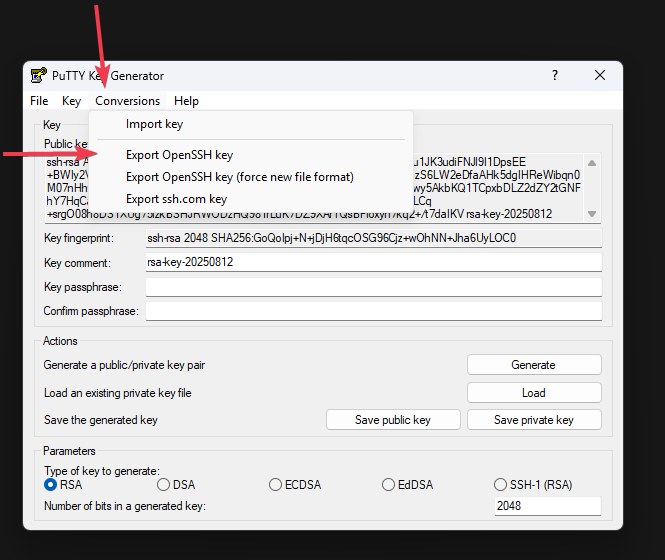
Just make sure to export the key as OpenSSH , and not the Putty ppk. Install Putty and open PuttyGen and click “generate”.
Take the public key and paste it into a new .pub file. You’ll load that into Cloud-Init.
Convert the private key to OpenSSH, no extension. If you don’t add a passphrase the later login will be immediate but insecure. A passphrase will act like a password for the private key. Up to you.
Now you’ll have a keypair. Once you load the public into Cloud-Init, in your SSH session you can use the private for authentication. The process should be similar for most clients.
And that’s about it! The default options Proxmox gives us for Cloud-Init is bare bones, you can get crazy with a custom yaml file.
https://pve.proxmox.com/wiki/Cloud-Init_Support
https://documentation.ubuntu.com/lxd/latest/cloud-init/
One last thing. If you change the Cloud-Init settings make sure you click “regenerate” to save the changes.
Until next time.