
Decouple Zigbee and ZWave from Home Assistant
It's a "strategic" decoupling

Intro and Musings
In Part 2 we covered Zigbee2MQTT (Z2M) and using the UZG01 to decouple from Home Assistant proper, removing the direct hardware dependency on the VM. I then thought, why not move Z2M entirely off Home Assistant and into its own docker? I kind of like the idea of being able to manage the software and not always be trapped in the HA app.
But…if I remove the application from HA how can I access it remotely via NabuCasa or some other reverse proxy? Easy! Someone made a proxy you can install in HA, giving you the best of both worlds! We’ll get into it.
Also, once I got down the road for Zigbee, I started to wonder about doing something similar for ZWave, but I didn’t find a similar solution to the UZG01 that I liked. But where there’s a docker, there’s a way! I managed to totally decouple both radios making my HA VM totally portable between my Proxmox nodes.
Before we get started, if you’re new to Docker and Portainer, go read my series, It's Docker-ing time!
Z2M Docker
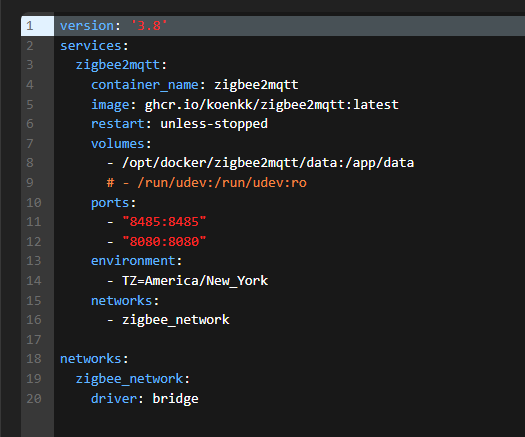
The good news is we did the bulk of the work in part 2. So let’s kick things off with our Portainer stack config. Note that I’m using my bind mount option for the local config. Example can be found at my github for proper formatting.
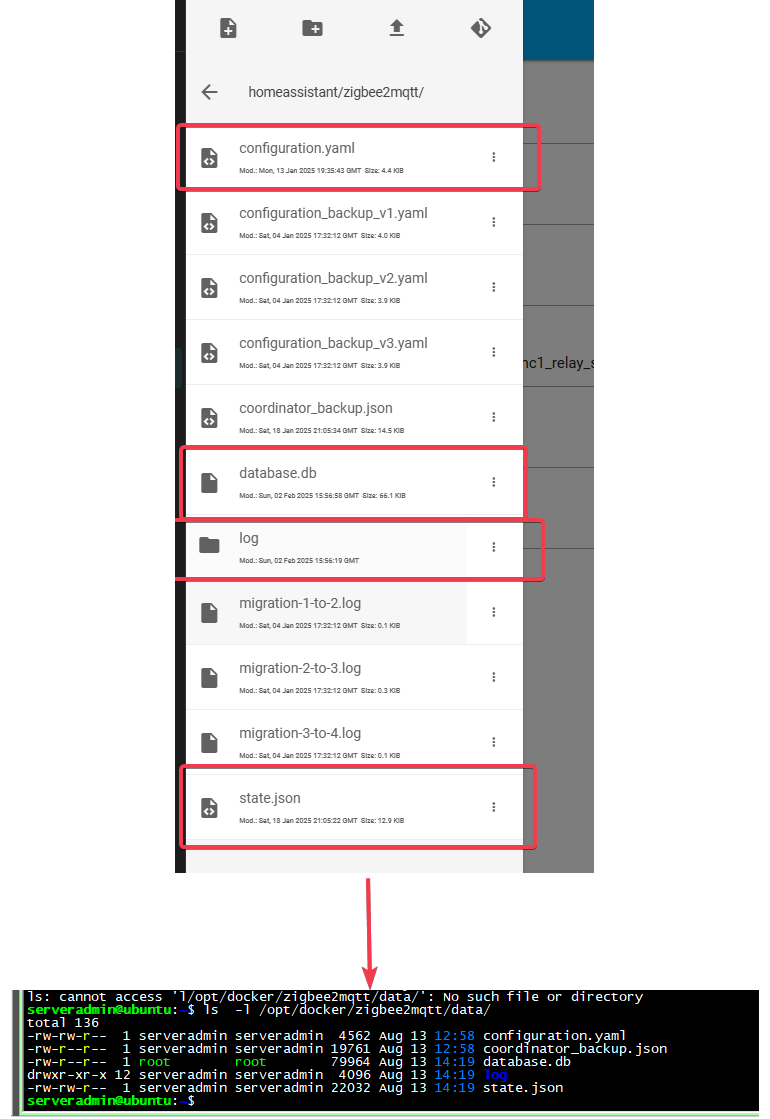
We’re going to need some information out of the existing Z2M install, namely the Network Key, Network PAN ID, and the Network Extended PAN ID, etc. Honestly, it’s easiest just to copy down the files from Home Assistant right into the docker config folder.
In HA, after the file transfers turn off the Z2M install (don’t delete just yet) then deploy the stack, and go to port 8080 on the docker host. Everything should just “come up” since we simply moved docker to another host, everything else is done on the UZG01, and all the configs are in your transferred files.
That should be it. I like to send the page to my Ngnix Proxy for easy local access, but now for the HA proxy.
Z2M Proxy
In Add-on, choose the Add-on Store, and search for “proxy”. It should come up, because it’s part of the Z2M repository that should already be present at this point. Install it.
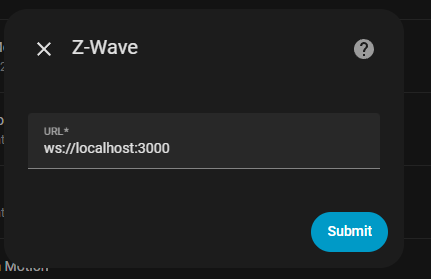
Go to config, simply put in the IP: port of your docker host and start it.
Turn on sidebar and start on boot.
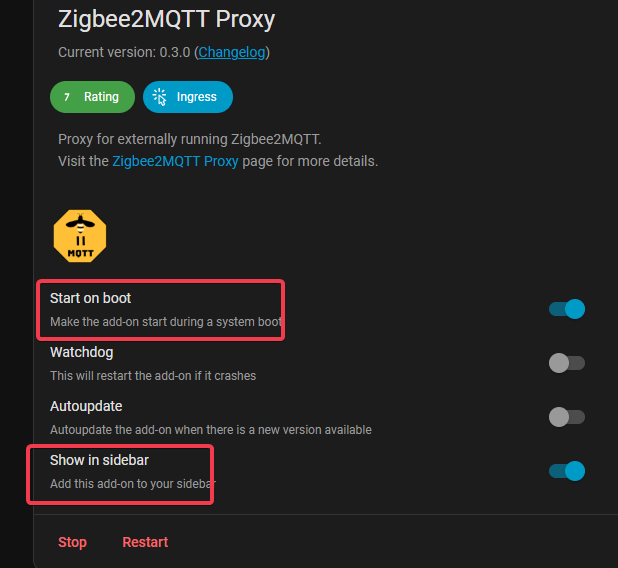
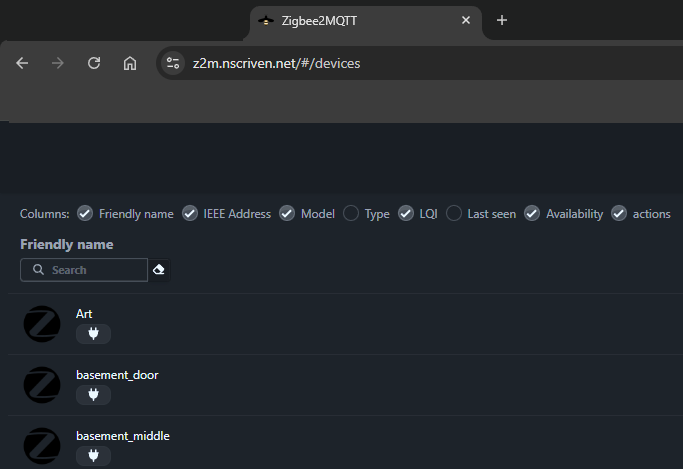
You’ll get this handy little fella in the sidebar and now it’s like nothing changed.

It is great, though being able to access the management page directly, and now when you reboot Home Assistant your Zigbee network doesn’t go down as well.
(I send mine via an internal NGINX proxy for handy FQDN)
Ok that’s it for Zigbee
Decoupling ZWAVE
Ok, there’s a couple assumptions I’m working with here. I assume you’ve migrated to ZWave JS UI, and you’re not using MQTT for this deployment. I’m using just the websocket method, so that’s what we’ll focus on.
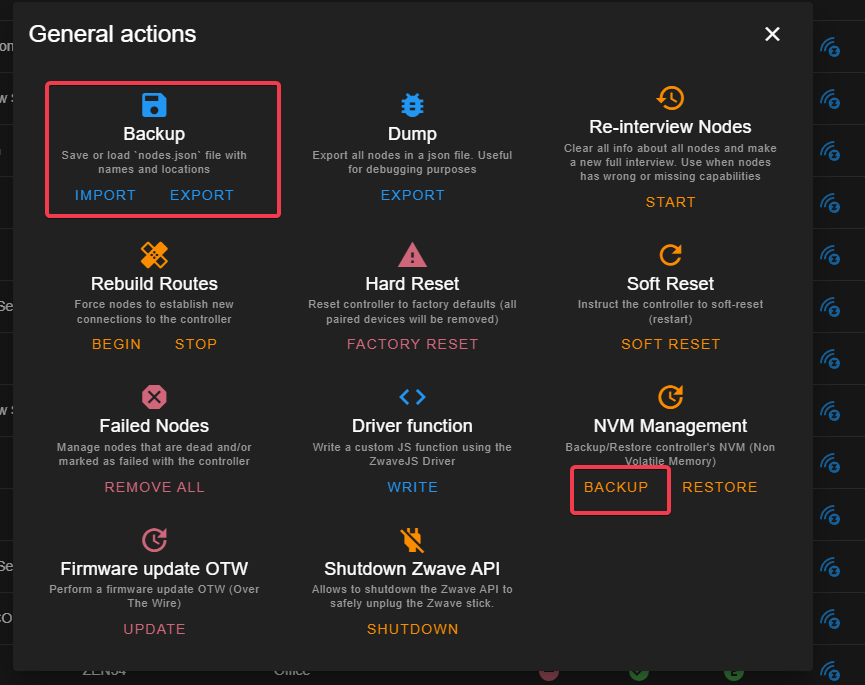
Ok, so the first thing you should do for safety is go into your existing install, go to the lower right, and choose advanced actions.
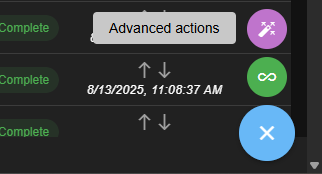
Backup the nvram of the adapter and the nodes.json. You shouldn’t need this, but better to have it.
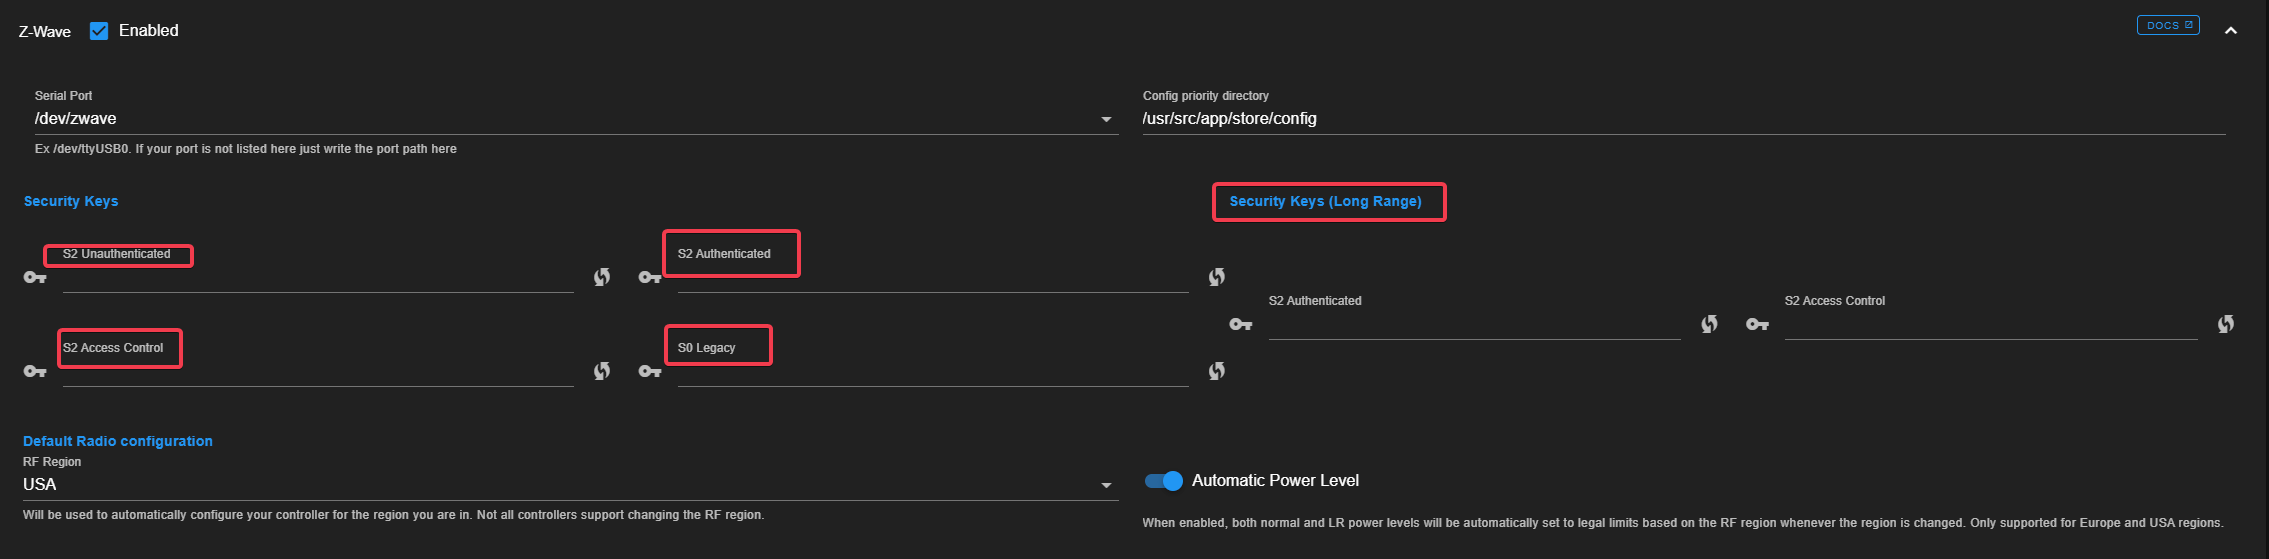
This process is pretty different from the UZG01. The ZWave adapter (mine is Aeotec) keeps the whole environment in local memory. It’s the brains of the whole operation, the UI provides management access. Moving the adapter will cause a bit of a headache though, because there are some items that don’t come over, and have to be reconfigured. We’ll cover it. You also need to go into your existing install and grab your security keys. Copy them someplace safe for the interim. If you don’t have anything for the Long Range keys it’s fine.
Now, we need a device totally independent of where you’re keeping Home Assistant, that has or can have Docker installed. I tested initially on a Pi3, which worked, and then easily migrated over to a Beelink I’m using for my Frigate docker.
Shut down the HA ZWave JS UI container and remove the dongle and plug it into the new hardware. On that box, validate its location with ls /dev/ttyACM*

We need this for our portainer stack configuration. Speaking of which…
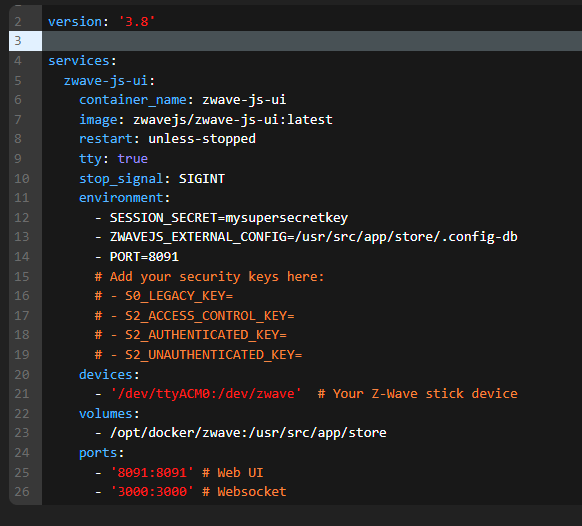
An example can be found at my Github. Remember those security keys? Enter those here if you want or leave them commented out. You can also add them in the new UI after the docker starts. I was dopey and forgot to uncomment them, so that’s what I ended up doing.
Note: The new docker will force you to create Long Range keys if you don’t have any before you can save changes. That’s fine there’s a little “generate” button.
Now, deploy the stack and go to the web UI at host:8081 and go to settings. Make sure your keys are all present (or enter them now) and save the config.
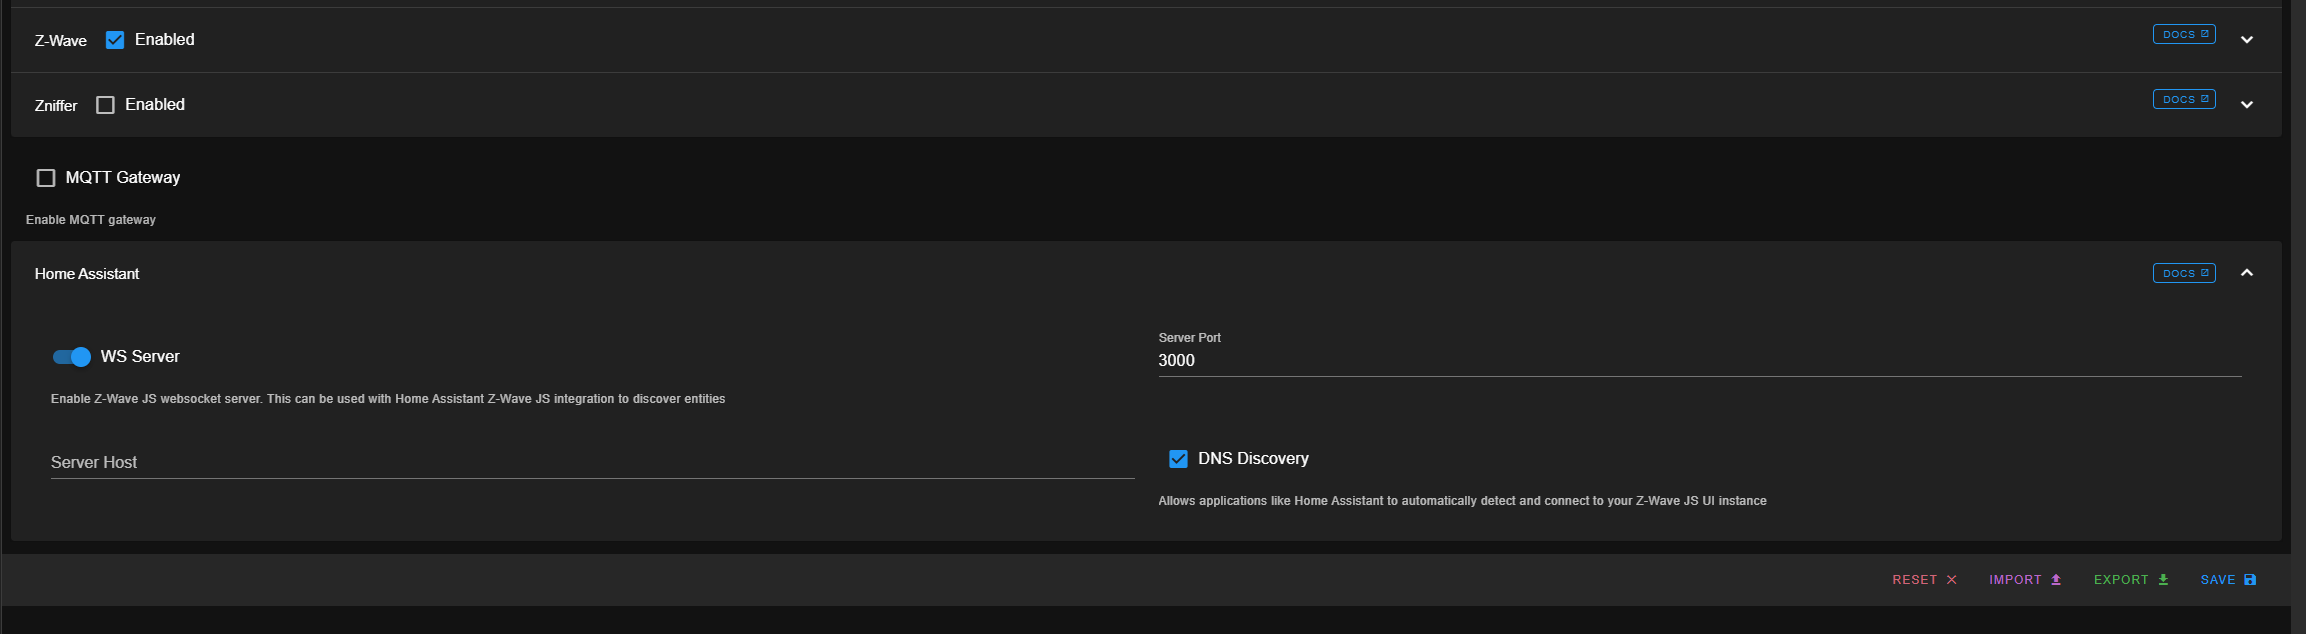
Next, scroll down to the Home Assistant section and ensure the WS Server is enabled.
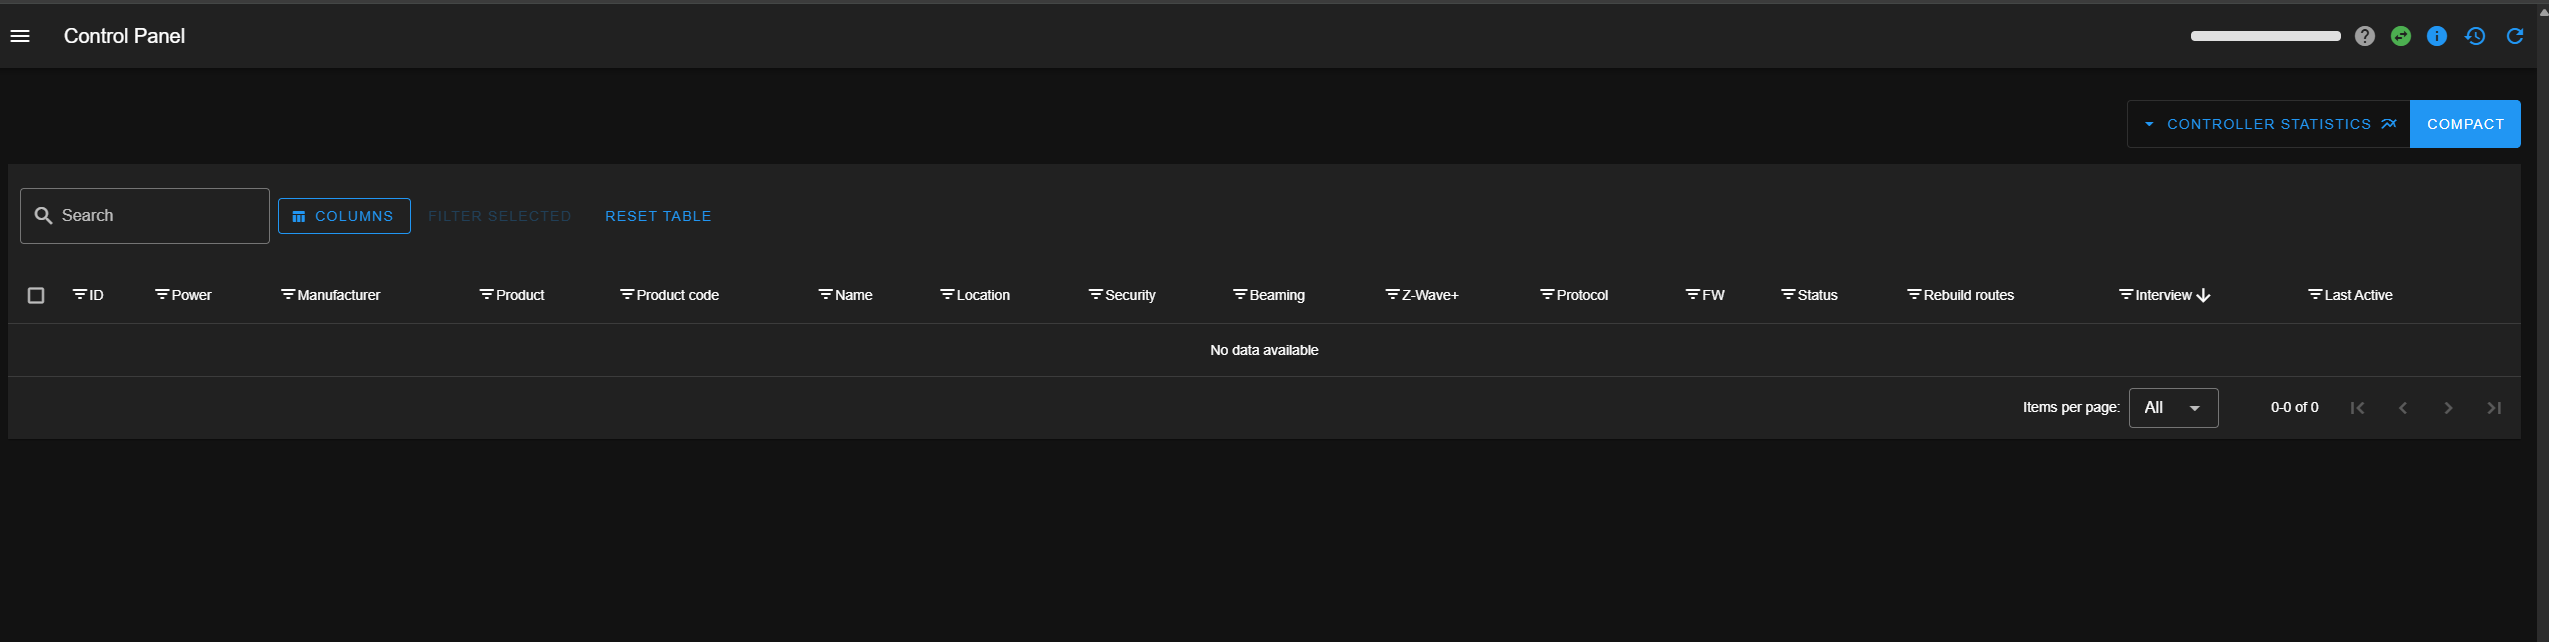
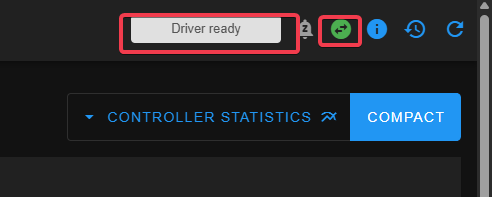
Now, go back to the main control page. It might look empty, but don’t panic. The driver can tale a moment to load. If you don’t see Driver Ready>Scan Completed then maybe it isn’t seeing the dongle. Check the logs.

Ok, now here’s how my experience went. All of my wired ZWave devices came up and looked good. I have a lot of battery-powered devices that I had to go around and wake up and then call a re-interview from the UI and they came back from pending status.

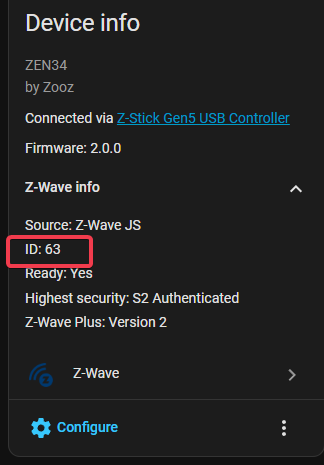
Look up the details on your device to find out its wakeup routine. Follow that process for each device until everyone’s back. Also, I found that none of my names carried over. Apparently they’re stored in HA.
You can use the HA Z-Wave integration as a Rosetta Stone to match NodeIds with names. The names in ZWave JS UI are nice since they can be used to label the network view of the devices.
Remember when I said I moved from the PI to the Beelink? I didn’t have to do any of this again because I had all the config files in one spot on docker. All I had to do was update the HA integration and Proxy with the new IP once I copied over the files and started the new docker.
Updating the HA integration and Installing the Proxy
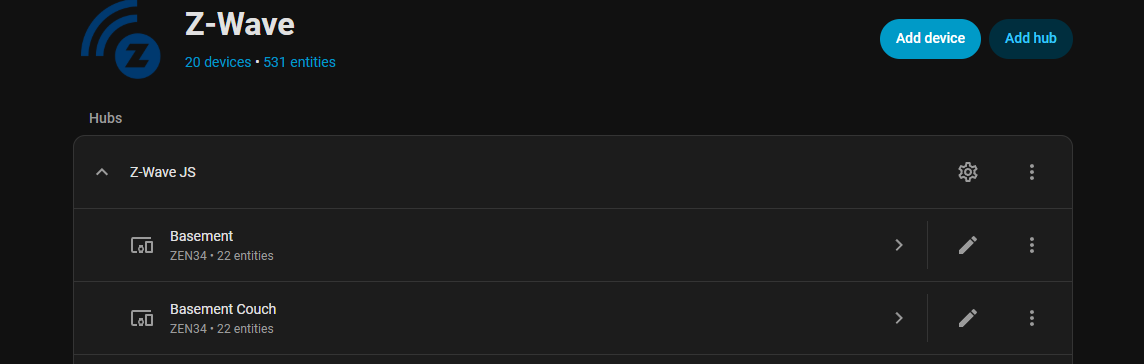
If you go to settings>devices and services>zwave you’ll notice it is very grumpy. In the integration, click “Add Hub”>Custom Installation>Uncheck “Use the Z-Wave Supervisor add-on and hit submit. Replace local host with your docker IP and hit submit and it should be happy again.
Ok, last step! The proxy. We need to add a repository in Add-ons.
Go to Settings>Add-On Store (lower right) and then on the upper right “Repositories”
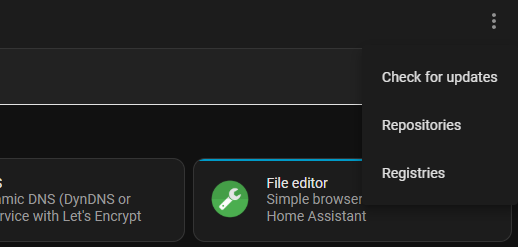
Add this repo: https://github.com/Pulpyyyy/zwavejsuiproxy
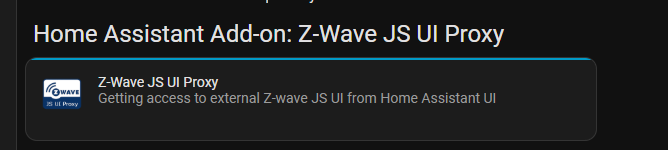
Once added, search for “Proxy”, and install. The process is the exact same as the proxy for Z2M. Config, enter IP and port, start at boot, add to sidebar, profit.
And that should be it! Once complete you’ll have total hardware and software independence from the main HA VM. THis means you can live migrate the VM, and reboot/update for maintenance without affecting the Zigbee or ZWave networks.
Until next time.